minikube helm 安装 jenkins
文章目录
- 1. 准备条件
- 2. 安装 helm
- 3. 部署 jenkins
- 3.1 创建 namespace jenkins
- 3.2 创建存储卷 jenkins-volume
- 3.3 创建 service account & RBAC
- 3.4 定制 jenkins-values.yml
- 3.5 安装 jenkins
- 3.6 登陆 jenkins

“Jenkins是一个著名的可扩展开源 CI/CD 工具,用于自动化部署。Jenkins 完全用 Java 编写,并在 MIT 许可下发布。它具有一组强大的功能,可以自动执行与软件构建、测试、部署、集成和发布相关的任务。这种用于测试的自动化 CI/CD 工具可用于 macOS、Windows 和各种 UNIX 版本,例如 OpenSUSE、Ubuntu、Red Hat 等。除了通过本机安装包安装外,它还可以作为独立安装或作为 Docker 安装在任何安装了 Java Runtime Environment (JRE) 的机器上。
Jenkins 团队还有一个名为 Jenkins X 的子项目,它专门用于开箱即用地运行与 Kubernetes 的无缝管道。Jenkins X 巧妙地集成了 Helm、Jenkins CI/CD 服务器、Kubernetes 和其他工具,以提供具有内置最佳实践的规范 CI/CD 工具管道。”
1. 准备条件
- Centos 7.9.2009
- Ubuntu 18.04 通过 Minikube 安装 Kubernetes v1.20
- minikube & kubernetes 动手指南
2. 安装 helm
wget https://get.helm.sh/helm-v3.10.2-linux-amd64.tar.gz
tar -xzvf helm-v3.8.0-linux-amd64.tar.gz
cp linux-amd64/helm /usr/local/bin/
chmod 777 /usr/local/bin/helm
sudo chown -R 1000:1000 /data/jenkins-volume
helm version
如果没有chmod 777,部署时会报一下错误:
$ k get pods -n jenkins
NAME        READY   STATUS     RESTARTS   AGE
jenkins-0   0/2     Init:0/1   0          4s$ k logs -f jenkins-0 -c init -n jenkins
disable Setup Wizard
/var/jenkins_config/apply_config.sh: 4: cannot create /var/jenkins_home/jenkins.install.UpgradeWizard.state: Permission denied
添加 helm 源
$ helm repo add jenkinsci https://charts.jenkins.io
$ helm repo update
$ helm search repo jenkinsci
NAME                    CHART VERSION   APP VERSION     DESCRIPTION
jenkinsci/jenkins       4.2.15          2.361.4         Jenkins - Build great things at any scale! The ...
3. 部署 jenkins
3.1 创建 namespace jenkins
k create ns jenkins
3.2 创建存储卷 jenkins-volume
下载 jenkins-volume.yml
mkdir /data/jenkins
sudo chown -R 1000:1000 /data/jenkins
---
apiVersion: v1
kind: PersistentVolume
metadata:name: jenkins-volumenamespace: jenkins
spec:storageClassName: jenkins-volumeaccessModes:- ReadWriteOncecapacity:storage: 10GipersistentVolumeReclaimPolicy: RetainhostPath:path: /data/jenkins/
执行:
k apply -f jenkins-volume.yml
3.3 创建 service account & RBAC
在 Kubernetes 中,服务帐户用于为 Pod 提供身份。想要与 API 服务器交互的 Pod 将使用特定的服务帐户进行身份验证。默认情况下,应用程序将作为default它们运行所在的命名空间中的服务帐户进行身份验证。这意味着,例如,在test命名空间中运行的应用程序将使用命名空间的默认服务帐户test。
下载 jenkins-sa.yaml.
---
apiVersion: v1
kind: ServiceAccount
metadata:name: jenkinsnamespace: jenkins
---
apiVersion: rbac.authorization.k8s.io/v1
kind: ClusterRole
metadata:annotations:rbac.authorization.kubernetes.io/autoupdate: "true"labels:kubernetes.io/bootstrapping: rbac-defaultsname: jenkins
rules:
- apiGroups:- '*'resources:- statefulsets- services- replicationcontrollers- replicasets- podtemplates- podsecuritypolicies- pods- pods/log- pods/exec- podpreset- poddisruptionbudget- persistentvolumes- persistentvolumeclaims- jobs- endpoints- deployments- deployments/scale- daemonsets- cronjobs- configmaps- namespaces- events- secretsverbs:- create- get- watch- delete- list- patch- update
- apiGroups:- ""resources:- nodesverbs:- get- list- watch- update
---
apiVersion: rbac.authorization.k8s.io/v1
kind: ClusterRoleBinding
metadata:annotations:rbac.authorization.kubernetes.io/autoupdate: "true"labels:kubernetes.io/bootstrapping: rbac-defaultsname: jenkins
roleRef:apiGroup: rbac.authorization.k8s.iokind: ClusterRolename: jenkins
subjects:
- apiGroup: rbac.authorization.k8s.iokind: Groupname: system:serviceaccounts:jenkins
k apply -f jenkins-sa.yaml
3.4 定制 jenkins-values.yml
我们将部署 Jenkins,包括 Jenkins Kubernetes 插件。有关更多详细信息,请参见官方charts
为了启用持久性,我们将创建一个覆盖文件并将其作为参数传递给 Helm CLI
下载 jenkins-values.yaml
常见参数修改:
serviceType: NodePort:因为我们使用的是 minikube,所以我们需要使用NodePort作为服务类型。只有云提供商提供负载均衡器。nodePort: 32000:我们将端口32000定义为端口。storageClass: jenkins-volumeserviceAccount:jenkins-values.yaml文件的 serviceAccount 部分应该如下所示:
serviceAccount:create: false
# Service account name is autogenerated by default
name: jenkins
annotations: {}
其中 name: jenkins 指的是为 jenkins 创建的 serviceAccount。
- 我们还可以定义要在 Jenkins 上安装哪些插件。我们使用一些默认插件,如 git 和管道插件。
helm install现在您可以通过运行命令并向其传递以下参数来安装 Jenkins :
- 发布名称:
jenkins -f覆盖的 YAML 文件的标志:jenkins-values.yaml- chart 名称:
jenkinsci/jenkins -n指定命名空间名称的标志:jenkins
3.5 安装 jenkins
helm install jenkins -n jenkins -f jenkins-values.yml jenkinsci/jenkins
输出:
NAME: jenkins
LAST DEPLOYED: Sat Dec  3 21:51:46 2022
NAMESPACE: jenkins
STATUS: deployed
REVISION: 1
NOTES:
1. Get your 'admin' user password by running:kubectl exec --namespace jenkins -it svc/jenkins -c jenkins -- /bin/cat /run/secrets/additional/chart-admin-password && echo
2. Get the Jenkins URL to visit by running these commands in the same shell:export NODE_PORT=$(kubectl get --namespace jenkins -o jsonpath="{.spec.ports[0].nodePort}" services jenkins)export NODE_IP=$(kubectl get nodes --namespace jenkins -o jsonpath="{.items[0].status.addresses[0].address}")echo http://$NODE_IP:$NODE_PORT/login3. Login with the password from step 1 and the username: admin
4. Configure security realm and authorization strategy
5. Use Jenkins Configuration as Code by specifying configScripts in your values.yaml file, see documentation: http:///configuration-as-code and examples: https://github.com/jenkinsci/configuration-as-code-plugin/tree/master/demosFor more information on running Jenkins on Kubernetes, visit:
https://cloud.google.com/solutions/jenkins-on-container-engineFor more information about Jenkins Configuration as Code, visit:
https://jenkins.io/projects/jcasc/NOTE: Consider using a custom image with pre-installed plugins
要等一段时间,pod才会启动成功:
$ k get pods -n jenkins
NAME        READY   STATUS    RESTARTS   AGE
jenkins-0   2/2     Running   0          5m30s
3.6 登陆 jenkins
获取登录密码
$ kubectl exec --namespace jenkins -it svc/jenkins -c jenkins -- /bin/cat /run/secrets/additiona
l/chart-admin-password && echo
a14JY20Nn48gHdffWVvGnn
获取登陆URL
export NODE_PORT=$(kubectl get --namespace jenkins -o jsonpath="{.spec.ports[0].nodePort}" services jenkins)export NODE_IP=$(kubectl get nodes --namespace jenkins -o jsonpath="{.items[0].status.addresses[0].address}")echo http://$NODE_IP:$NODE_PORT/login
输出:
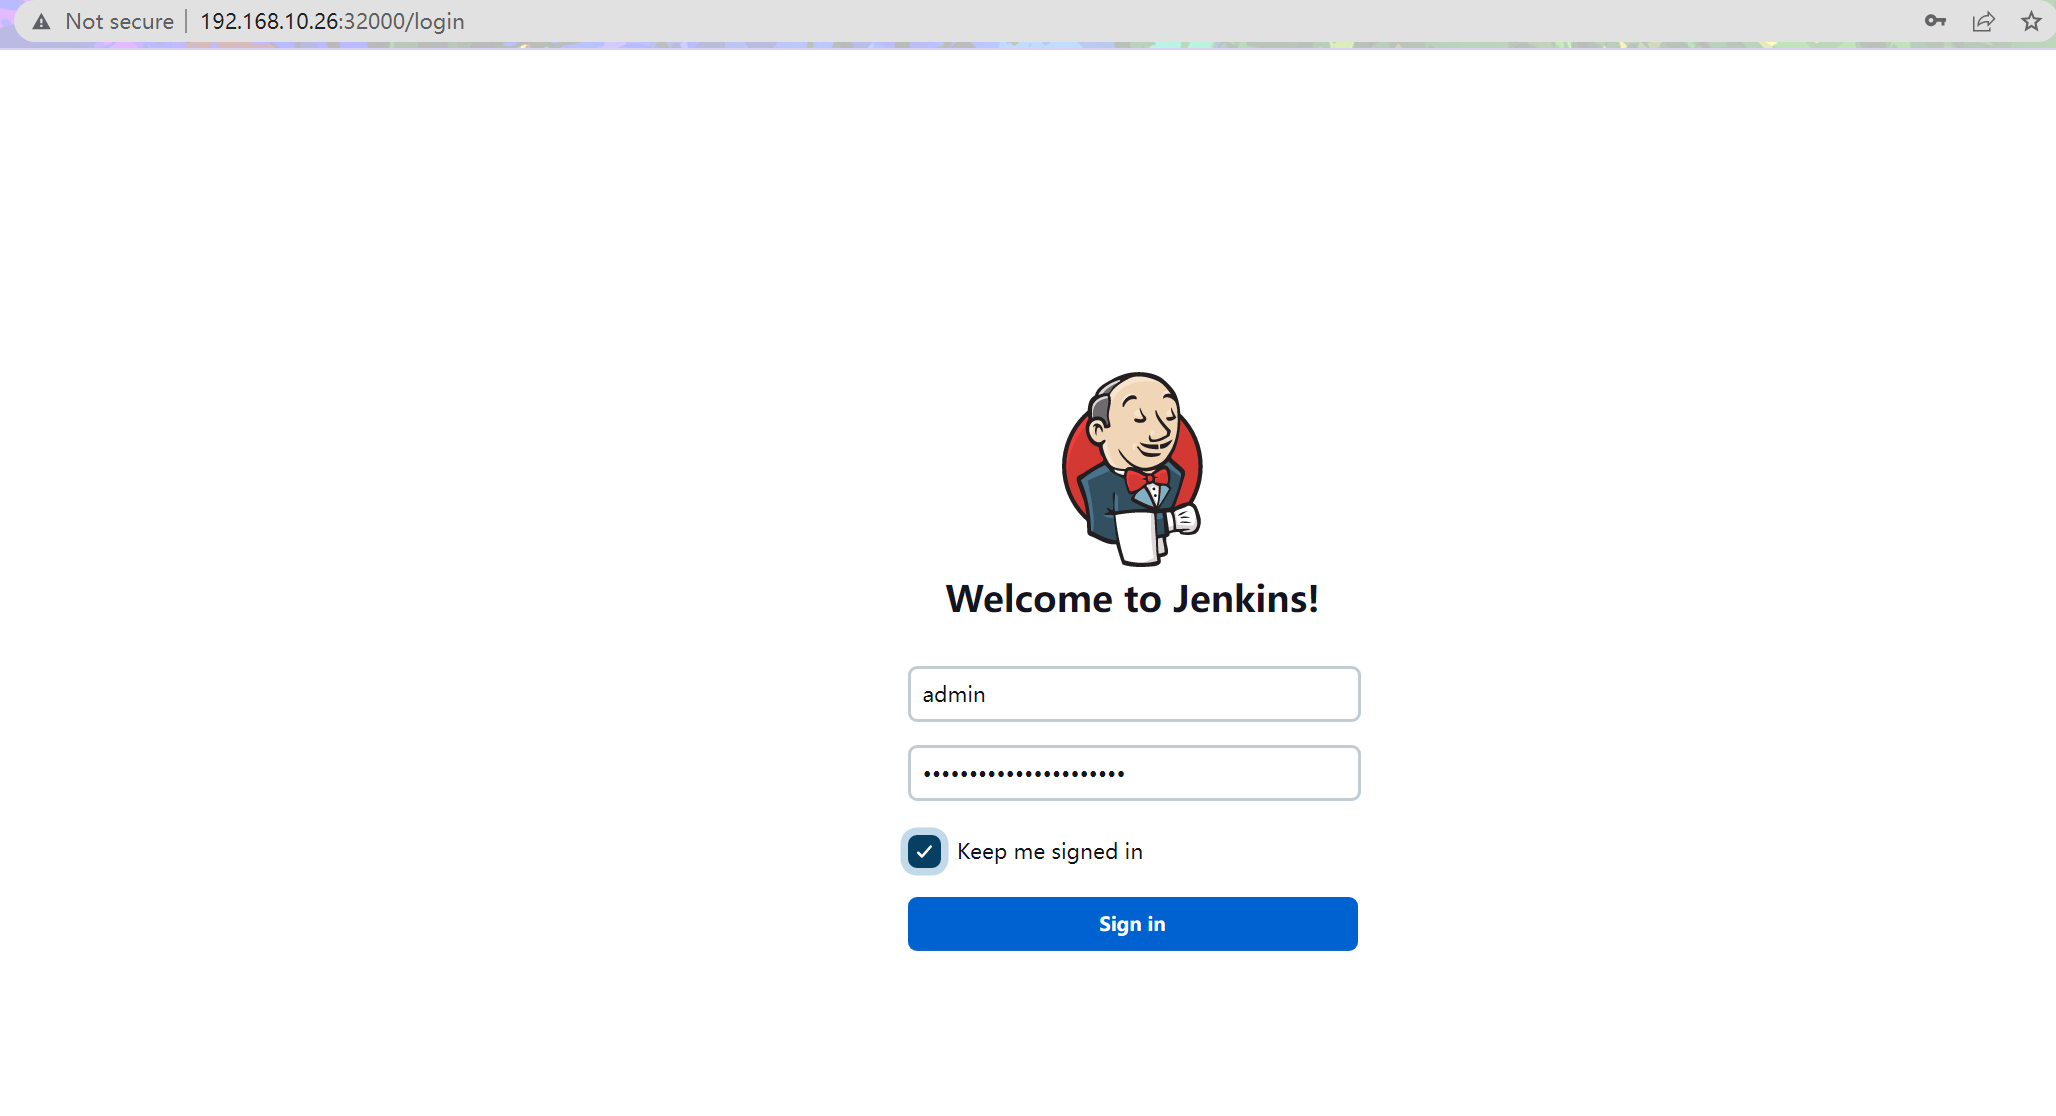
http://192.168.10.26:32000/login
界面登陆
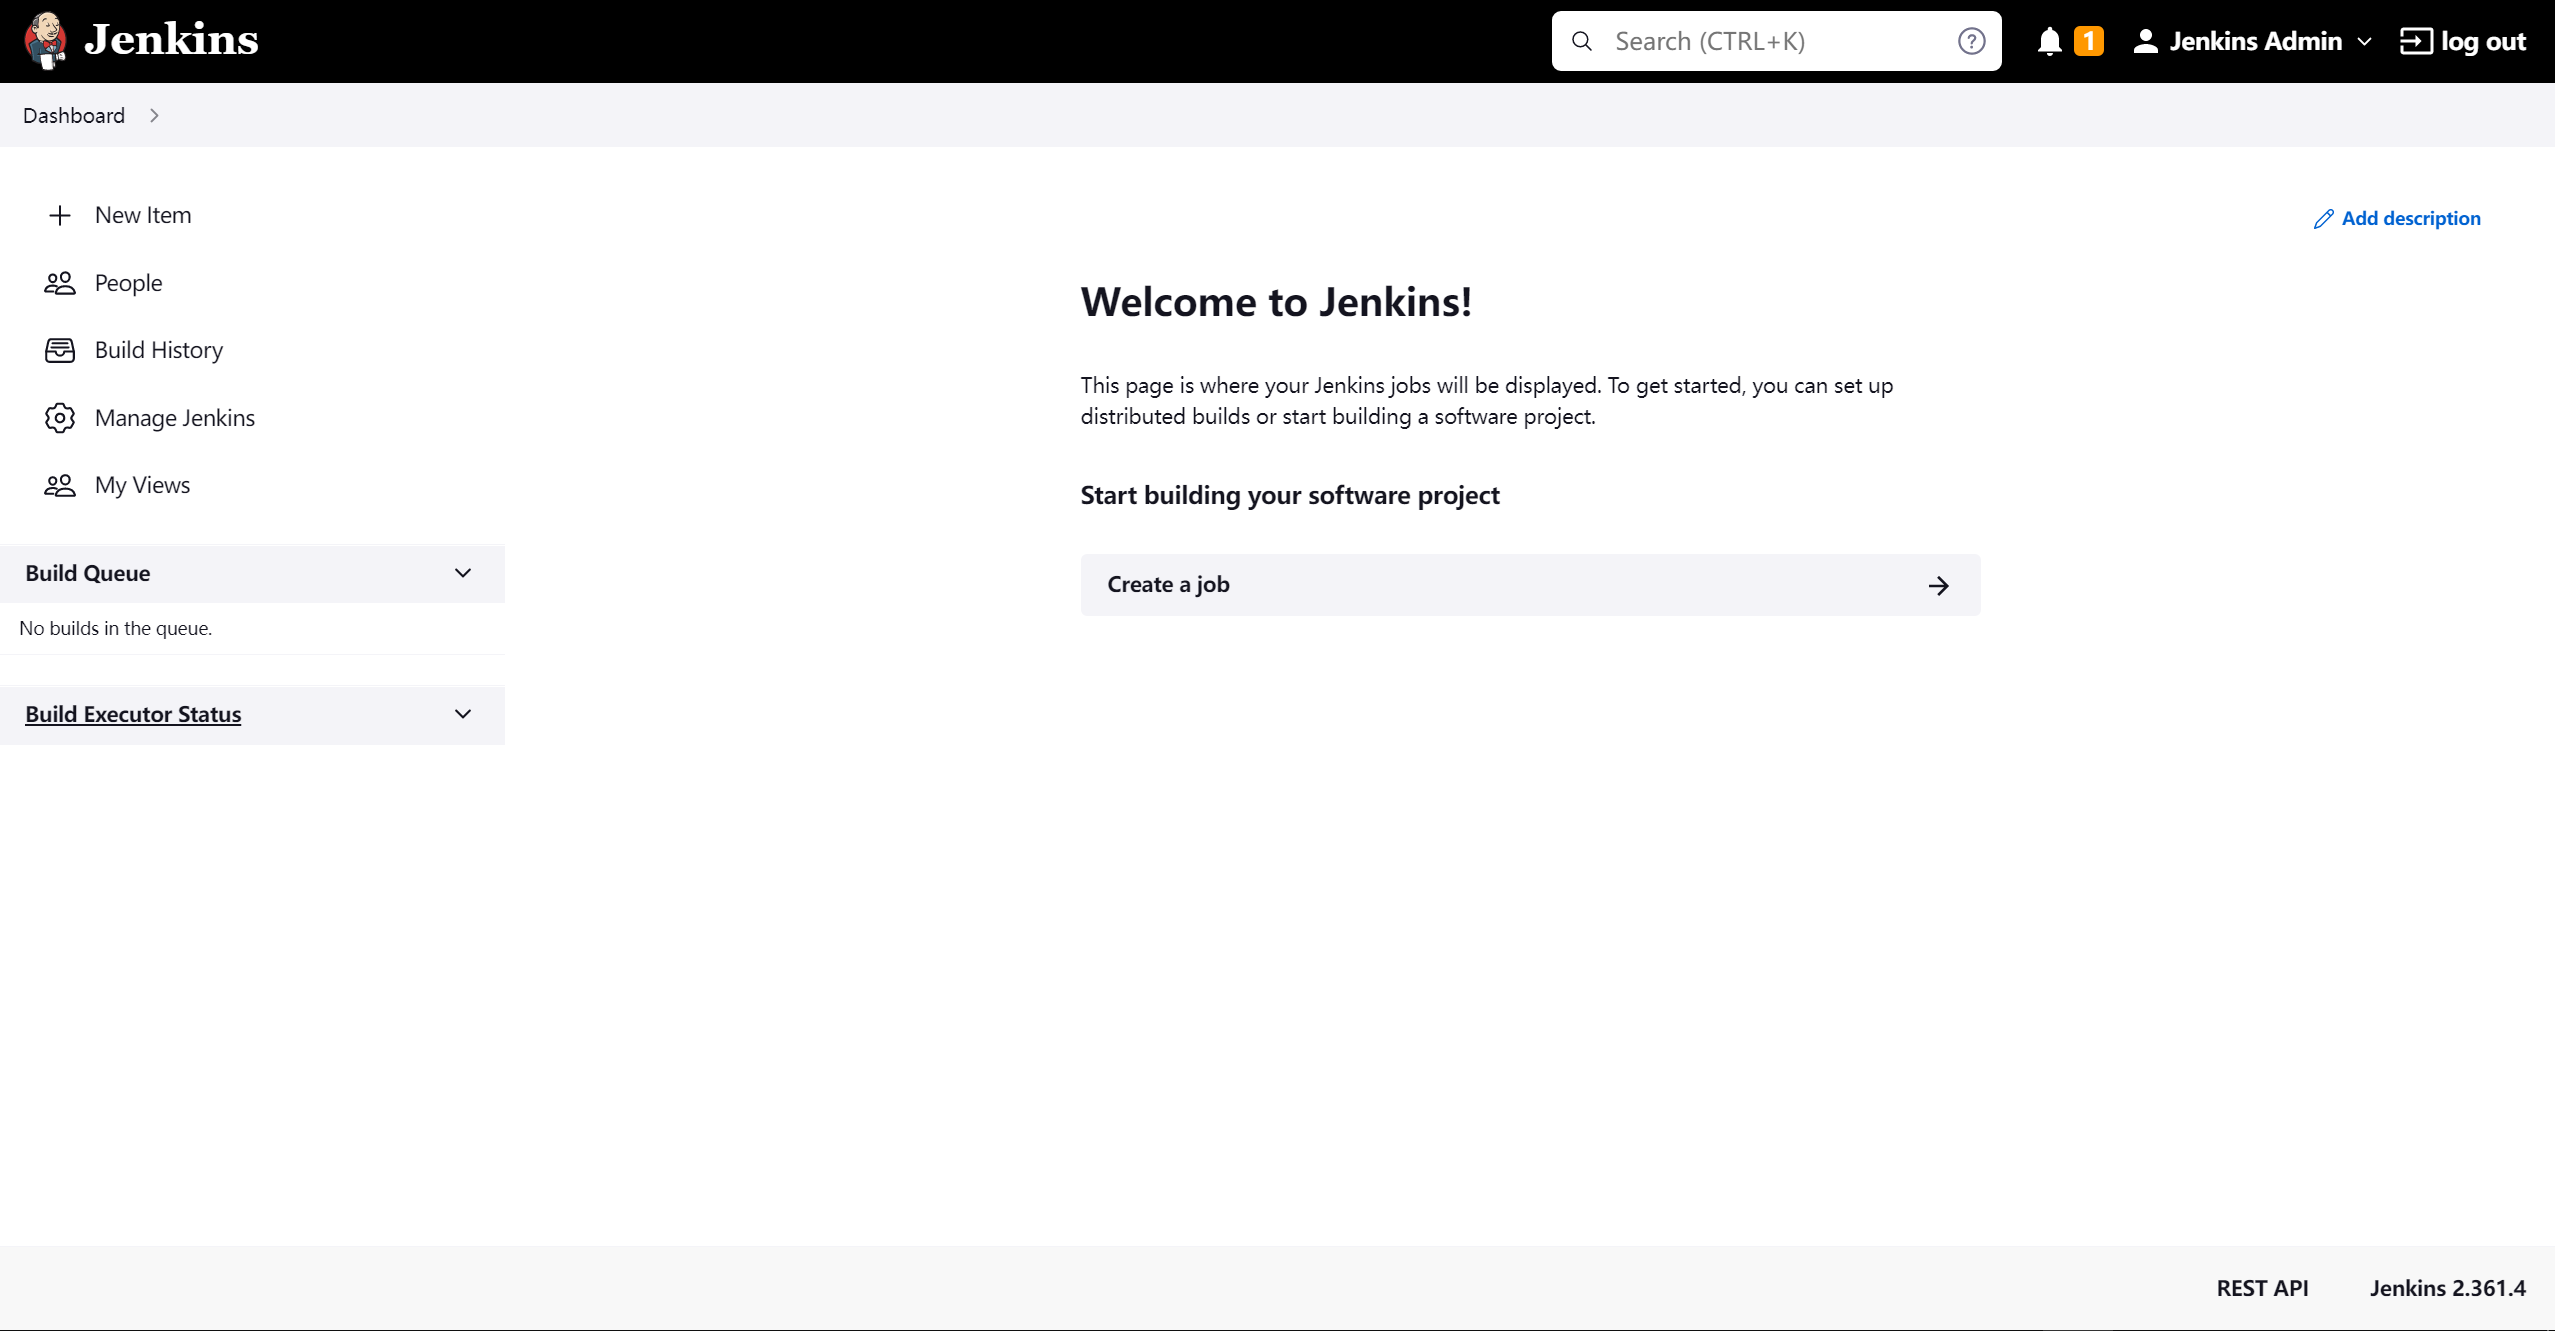
首页
参考:
https://www.jenkins.io/doc/book/installing/kubernetes/